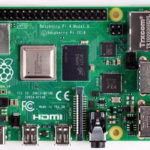
Raspberry Pi is currently the most widely used single-board computer in the world. Launched in October 2023, Raspberry Pi 5 is the latest version of the development board, offering more significant computing power, an enhanced GPU, and faster memory than its predecessors.
Among single-board computers, Raspberry Pi remains the most ubiquitous, outpacing alternatives like BeagleBone, Banana Pi, Banana Pro, and CubieBoard. One reason for this is its versatility, making it an ideal tool for various applications. Its compact size and affordability also mean it’s ideal for projects like robotics, smart home automation, home theater systems, retro gaming consoles, and many others.
Additionally, Raspberry Pi is widely used in industrial applications for tasks like data logging and process automation. It also serves as an excellent platform for learning computer science and programming. Whether you’re a professional, educator, or enthusiast, Raspberry Pi offers a flexible and cost-effective way to bring ideas to life.
The board can be easily set up as a desktop system, but for many applications, it is often used in headless mode, running without a display, keyboard, or mouse. A headless setup is more power-efficient, reduces hardware overhead, improves stability, and simplifies management and maintenance.
In this project, we’ll set up a headless Raspberry Pi and configure SSH and VNC for remote access and control.
Components
- Raspberry Pi 5B/4B x1
- Class 10 MicroSD card (at least 32GB) x1
- MicroSD card reader x1
- Power adaptor for Raspberry Pi x1
- A computer (for preparing MicroSD card)
- Internet connection
Preparing the MicroSD card
The first step in setting up Raspberry Pi in headless mode is preparing the MicroSD card. The card must be at least a Class 10 and 32 GB in capacity.
Insert the MicroSD card in an SD card reader and attach it to your computer. Format the SD card to the FAT32 system using an SD card formatting software of your choice.
You can download a SD card formatter here. After formatting the MicroSD card, download the Raspberry Pi Imager for your computer’s operating system using this link.

Install and run the Raspberry Pi Imager on your computer.

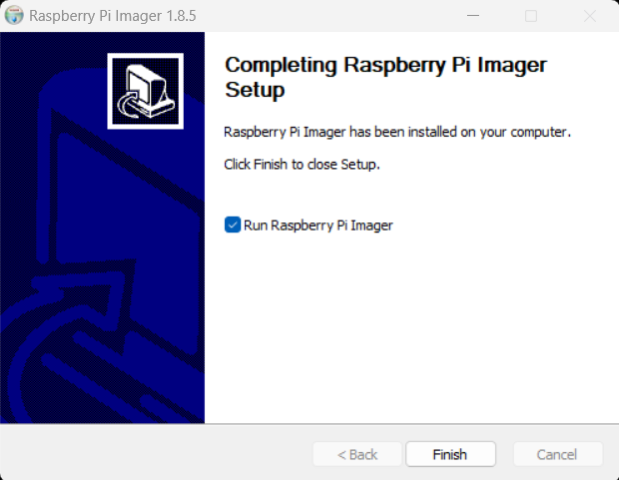
When you open the Raspberry Pi Imager, it look like this:

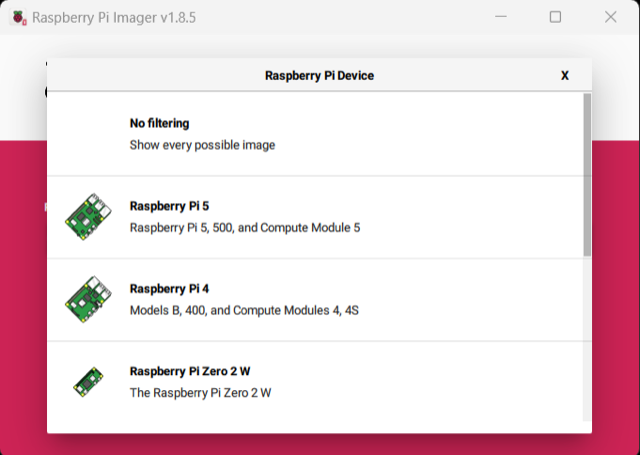
Next, click on the “CHOOSE DEVICE” tab, and select the target Raspberry Pi model. The Raspberry Pi 5 and Raspberry Pi 4 are currently the latest models.
We’re setting up the Raspberry Pi 4B for this project.
Next, click on the “CHOOSE OS” tab, and select “Raspberry Pi OS (other).”

Scroll down and select the “Raspberry Pi OS (Legacy, 64-bit) Full” option. You can also select any other operating system variant as per your requirements.

Next, select the “CHOOSE STORAGE,” tab and select the MicroSD card from the dropdown list. This card must be attached to the computer via an SD card reader.

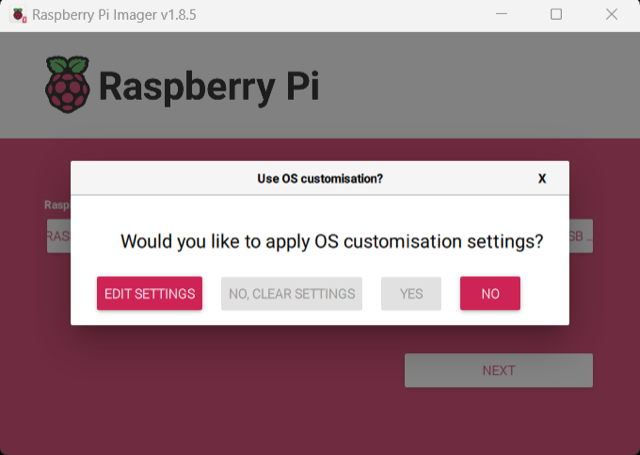
Click on the “NEXT” button. A window will pop up prompting you to apply the OS customization setting. Click on the “EDIT SETTINGS” option.
Under the general tab, setup a hostname for your Raspberry Pi. Then, set a username and password. Configure the wireless LAN with the SSID and the network key of your Wi-Fi network. Select your country in the WLAN settings and set a local settings if required.

Under the “Services” option’, check the “Enable SSH” tab.

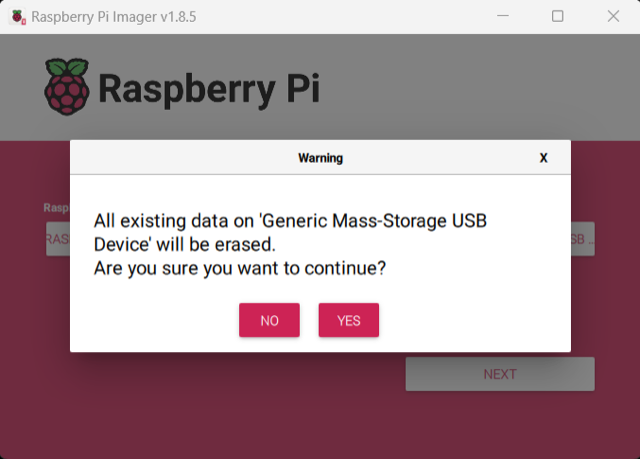
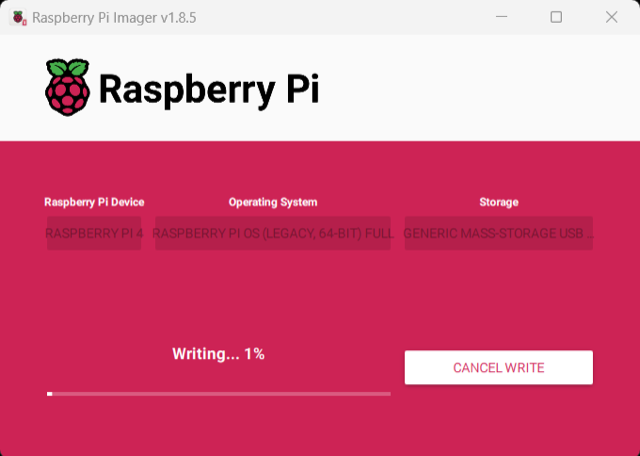
Next, click on “Yes.” A window will pop up with a warning message: All existing data on Generic-Mass-Storage-Device will be erased. Are you sure you want to continue. Click on “Yes,” and wait for the setup to continue.

The setup will write files to your MicroSD card. It will also verify the files written in storage. You can skip this verification, but it’s recommended to wait for the written files to be verified.
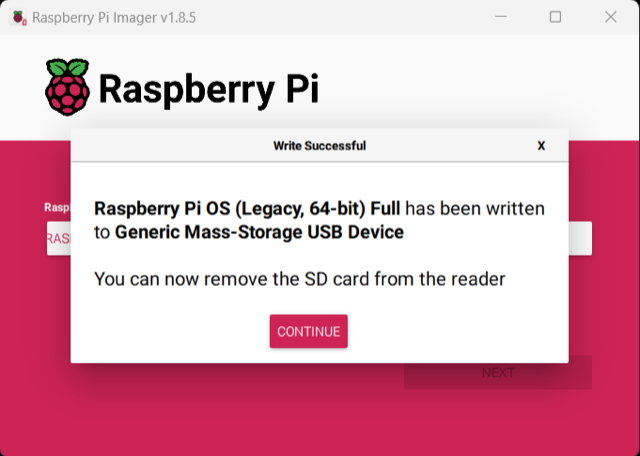
After the files are written and verified, the setup is complete. A message will pop up to remove the SD card from the reader. Click “Continue,” and safely remove the MicroSD card.
Booting up Raspberry Pi
Insert the OS-loaded microSD card into Raspberry Pi’s microSD card slot (ensure the power supply is turned off before inserting the card).
Once the card is in place, switch on the power by connecting the power supply. The lights on the board will start blinking, indicating that the board is booting. Once the boot process is complete, the power LED will remain stable.
Getting the IP address
To access the Raspberry Pi remotely, you’ll need its IP address. Since we already included our Wi-Fi credentials during OS customization, Raspberry Pi will automatically connect to the router upon booting.
There are several ways to find the Raspberry Pi’s IP address. You can use network scanner tools like the Advanced IP Scanner (Windows-only), Angry IP Scanner, or Zenmap from NMAP. Alternatively, you can log in to your router and check the list of connected devices for the Raspberry Pi’s IP. Another method is to enable your mobile Wi-Fi hotspot and look for available connected devices.
If you set a hostname during OS customization, you can also retrieve the IP address by using the ping command in your computer’s terminal (e.g., ping pi.local) Windows Command Prompt). For this setup, we used Angry IP Scanner to locate the Raspberry Pi’s IP address.

You can get the Angry IP Scanner from this link.
Accessing Raspberry Pi remotely
Once you have Raspberry Pi’s IP address, you can connect to it remotely using an SSH tool like PuTTY (Windows-only), Bitvise SSH, or MobaXterm.
SSH (Secure Shell) is a network protocol that enables secure remote access to and control of Raspberry Pi over a network. It establishes an encrypted connection between your computer and Raspberry Pi, ensuring safe communication. SSH is essential for setting up a headless Raspberry Pi.
For this setup, we used MobaXterm to establish an SSH connection with the Raspberry Pi. You can download MobaXterm from here.

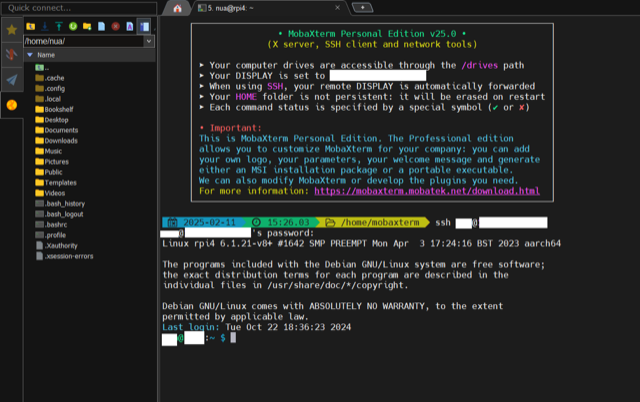
Click on the “Start local terminal” button. This will launch a local terminal window. Run the ssh command in the terminal to access headless Raspberry Pi from your computer. The ssh command will have following prototype.
ssh <username>@<IP-address-of-Raspberry-Pi>
For example,
Now, enter the password you assigned to the username in OS customization while preparing the SD card. If the password is correct, you’ll complete the SSH login to Raspberry Pi. You can then run terminal commands on Raspberry Pi remotely through the SSH tool’s terminal window.

Updating Raspberry Pi’s config tool
Next, let’s access Raspberry Pi’s Configuration Tool remotely using the SSH tool on our computer. We’ll also update the Configuration Tool.
First, access the SSH login to Raspberry Pi using MobiXterm, and run the following command after logging in.
sudo raspi-config

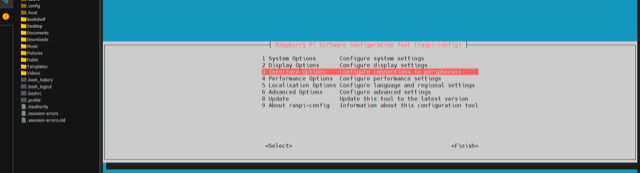
The Raspberry Pi Configuration Tool will open in the terminal window of the SSH tool (i.e., MobiXterm in this case), as shown in the image below.

Scroll down to select “7. Update,” and press enter. The Raspberry Pi Configuration Tool will be updated.
Updating and upgrading Raspberry Pi remotely
We’ll need to update and upgrade Raspberry Pi remotely using the SSH client. Login to your Raspberry Pi using the SSH client as described above. In our case, we are using the MobaXterm as the SSH client.
After logging in, run the following command in the terminal of the SSH client.
Sudo apt update && sudo apt upgrade –y
Raspberry Pi will update and upgrade remotely after executing this command.

Enabling VNC on Raspberry Pi
To remotely access the Raspberry Pi’s desktop environment, the Virtual Network Computing (VNC) must be enabled. VNC allows users to interact with Raspberry Pi in headless mode using a graphical desktop interface — even without a monitor, keyboard, or mouse physically connected.
Unlike SSH, which provides command-line access, VNC offers a full desktop experience with windows, icons, menus, and a mouse pointer, just like a standard computer.
First, a VNC server must be installed on Raspberry Pi. By default, the RealVNC Server comes pre-installed. Next, install a VNC Viewer on your computer, which will connect to the VNC server on Raspberry Pi and display its desktop.
After installation, you can connect to your Raspberry Pi’s VNC server by entering its IP address and, if required, the display number. Once connected, Raspberry Pi’s desktop will appear on your computer screen, allowing full interaction via mouse and keyboard.
However, before connecting via VNC, it must first be enabled on Raspberry Pi. To do so, login to Raspberry Pi using an SSH client, such as MobaXterm. Run the following command in the terminal window of the SSH client to open the Configuration Tool.
sudo raspi-config
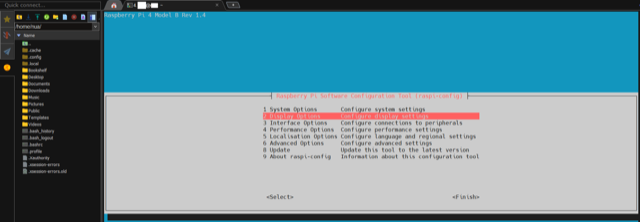
In the Raspberry Pi Configuration Tool, select the “3 Interface Options.”
Next, select “I3 VNC.”
Then, select “Yes,” and press enter to enable the VNC server.
 The VNC server is now enabled, but we’ll have to do one more thing. We must set the resolution of the VNC. To do so, select “2 Display Options” in the Raspberry Pi Configuration Tool.
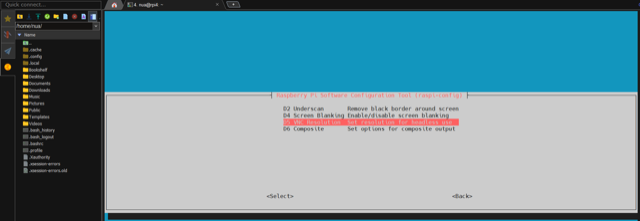
 Select the “D5 VNC Resolution.”
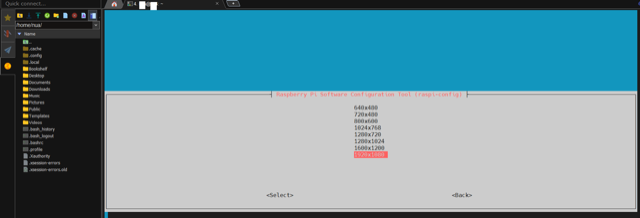
Choose the highest resolution and press, “SELECT.”
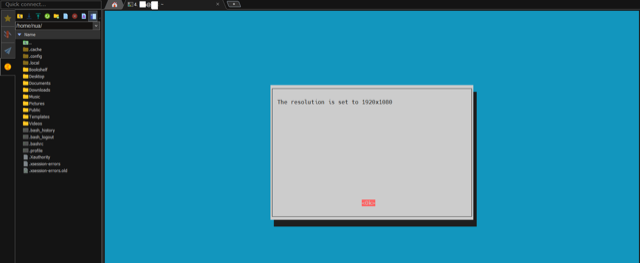
The resolution will be as selected.
Remotely accessing Raspberry Pi’s GUI
After enabling VNC on Raspberry Pi, it’s time to install the VNC Viewer on your computer to remotely access the desktop environment of Raspberry Pi.
There are several VNC Viewers available for remote desktop access on Raspberry Pi, including the TightVNC Viewer, RealVNC Viewer, and Remmina. As the RealVNC server is the default installed on Raspberry Pi, we’ll stick with using the RealVNC Viewer. Fortunately, this does not require installing an additional VNC server on Raspberry Pi.
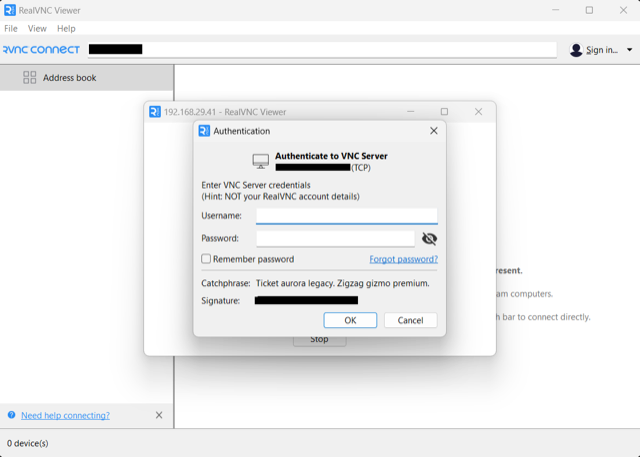
You will need to download the RealVNC Viewer from here. Install the RealVNC Viewer on your computer and open it. Then, enter the IP address of your Raspberry Pi and press enter. A window will pop up prompting to authenticate to VNC server. Enter the username and password set during the OS customization (while preparing the SD card).
Remember to check the “Remember Password” to avoid authentication in the future. Click “Ok” to connect with the VNC server on your Raspberry Pi.
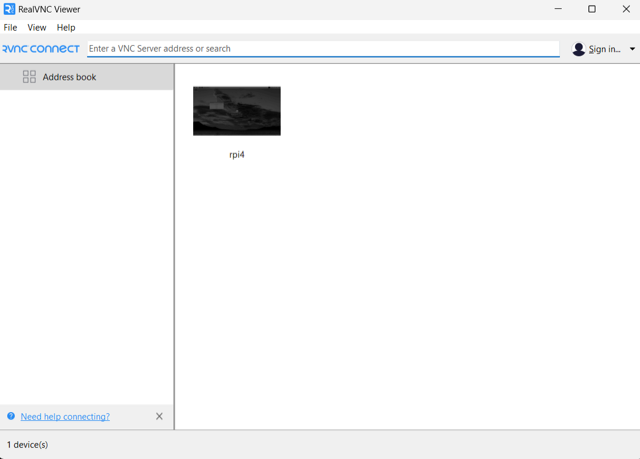
Once connected, you can access your Raspberry Pi desktop environment remotely from your computer.

Running the RealVNC server
There’s one last thing left in our headless Raspberry Pi setup. We must configure the VNC server on Raspberry Pi to run upon start-up. Otherwise, we’d have to enable the VNC server on Raspberry Pi through SSH client every time we need to access the desktop environment.
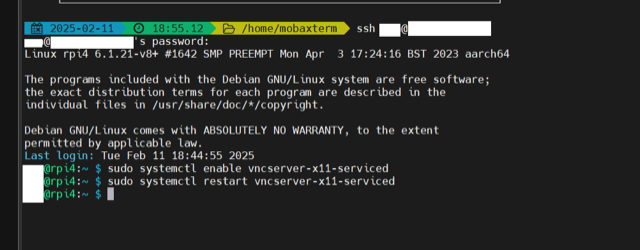
Login to Raspberry Pi through the SSH client, MovaXterm. In the terminal window of the SSH client, run the following command:
sudo systemctl enable vncserver-x11-serviced
This command will enable the VNC server upon start-up. Next, restart the VNC server by running the following command in the terminal window of the SSH client.
sudo systemctl restart vncserver-x11-serviced
Now, whenever Raspberry Pi boots up, the VNC server will automatically launch during the start-up. So, you can easily access the desktop environment of your Raspberry Pi remotely by connecting through the VNC Viewer on your computer.
You may also like:


Filed Under: Tutorials
Questions related to this article?
👉Ask and discuss on Electro-Tech-Online.com and EDAboard.com forums.
Tell Us What You Think!!
You must be logged in to post a comment.